Why Your Seams Pucker and How to Make Them Lie Flat
There are few giveaways like a pucker to announce your status as a newbie sewer….
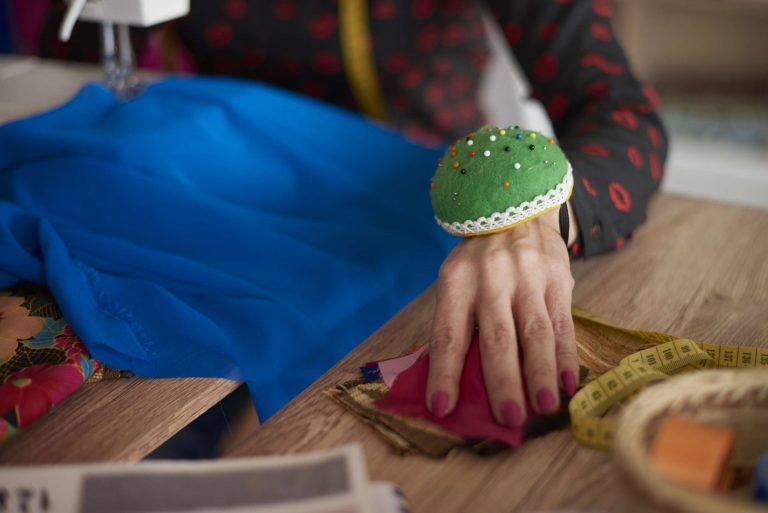
There are few giveaways like a pucker to announce your status as a newbie sewer. Even if the stitches are perfectly straight, the fabric will be puckered and look strained. This usually happens when the fabric is being stretched, pulled, or when the fabric on the top and bottom aren’t matching up. Often a beginner will pull the fabric behind the machine or yank the fabric from the front. The pressure foot is meant to regulate the fabric but when you are pulling the fabric in a way that resists it, it will pucker the fabric as you go.
If you take two identical pieces of fabric and put them under the machine without touching them and let the machine push them through, then do the same with another 2 pieces and push them through while pushing them along, you will see the difference if you place them on a flat surface. Try it. You will be surprised at how little pressure you need. You want your fingers to be merely steadying the fabric and let the machine do the work. You want your fingers to be close to the foot so the fabric can’t move, but don’t push the fabric.
Next up is the wrong stitch length or needle for the fabric being used. Too short of a stitch can gather up a lightweight fabric and a dull or too large of a needle can leave holes in the fabric that will result in a weakened seam line. If you find that you’re having the problem on a regular basis then try different stitch lengths on scraps of the fabric you’re working with before you head back to the garment. And last but certainly not least, don’t under-estimate the power of a good pressing. I find that many times a seam will come out of the machine looking a little wonky, but then when it’s pressed with steam and allowed to dry laying flat, it will smooth out.
A daily mini-routine will give you confidence in a very short time. Take a few minutes each day, say fifteen minutes, and sew test seams on scrap fabric. Change only one thing at a time. That might be the tension, the length of the stitch, or the pressure you use with your hands. Make a quick comment on each test piece so you can recall what worked to make a nice looking seam. After a few days you will start to see trends and you will be able to anticipate what will happen when you sew on a particular fabric.
If you find yourself getting irritated, stop and take a deep breath instead of throwing in the towel. Puckering is not an indication of an inability to sew, it’s an indication of an out of control or improperly set up situation. As soon as you become accustomed to identifying the signs of puckering in the making (where fabric is giving way in front of the needle, where fabric layers are pushing apart, where stitches are pulling too tight), you can fix them in the making. Beautiful seams are not just a result of beautiful tools, but beautiful patience and preparation, and the ability to step back and re-arrange your approach before you carry on.