
How to Practice Pattern Drafting Without Getting Overwhelmed
Sometimes blank paper can seem more daunting than a challenging material, since uncertainty is evident…
Sometimes blank paper can seem more daunting than a challenging material, since uncertainty is evident so quickly. Pattern drafting requires you to draw flat two-dimensional pieces that will later be sculpted into a three-dimensional shape, so it’s natural for a beginner to try and draft an entire garment at once. Typically they become frustrated when things don’t match up or proportions are off. Instead, it might help to think of pattern drafting as a collection of little mini-gedometry problems, where you work with the simplest form of a bodice block or a skirt block. Make sure lines are straight and angles are sharp, and not worry so much about styling details.
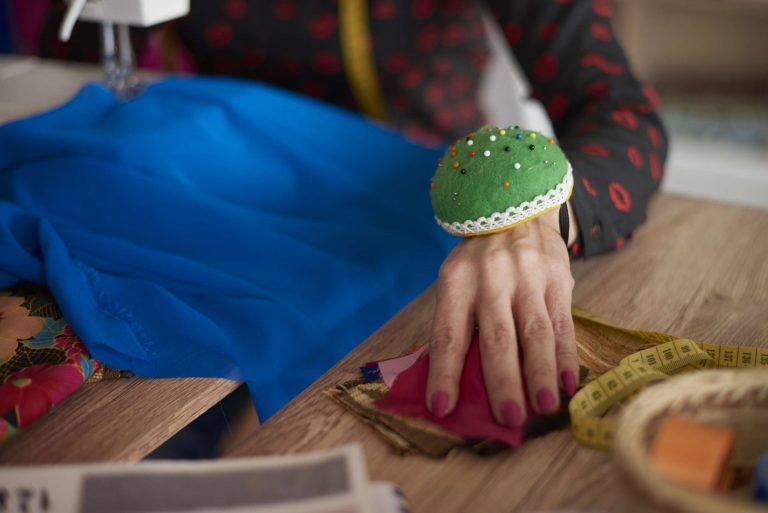
To make sure you’re getting the confidence in your block, I recommend drawing the block a few times with the same set of measurements. You’ll be surprised at how easy it is to accidentally have the waistline slant up, the armhole end up too low, or the side seam swing in too far. Use a ruler, a square, and a sharp pencil (so you can erase your lines easily without tearing your paper) to make sure you’re getting an accurate draft. Then once you have it drafted, cut it out and hang it on a dress form (or on yourself, if you don’t have a dress form and are wearing a tight-fitting top and leggings). Even without sewing it together, you’ll have a good idea if it looks proportionate. This will save you from spending a lot of time working with a block that is off.
This is one of those errors that come from blindly following the numbers, neglecting the element of ease, the margin of maneuverability and comfort. It is a sure fact that patterns that are made to the size of the body without taking this into account are perfectly mathematical but are unsightly or tight when the garment is worn. If your muslin goes taut around the bust or hips, you can’t just attribute it to bad sewing, increase your pattern side seams by a tiny bit, and try re-drawing those lines. This is one of the subtle steps of pattern making that differs garments that are stiff from those that are comfortable.
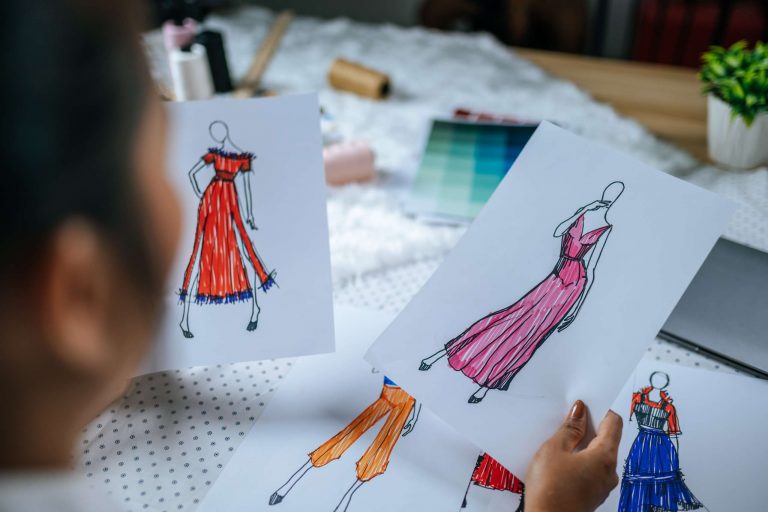
This approach is less daunting when done in short increments. Simply dedicate fifteen minutes each day to measuring a small area, drawing only that small area, and then tracing it to the guidelines. The following day, work on the section adjacent to the one from the previous day instead of starting over. Eventually, all the pieces will fit together and you’ll end up with a full design, but without the strain of trying to accomplish it all at once. Save previous sketches instead of tossing them. When you compare the sketches, you can see how the lines have become more solid and the proportions more sure.
When you get stuck, trace off a pattern from a garment that fits you well to see what the shapes look like. It’s easier to do this if you smooth the garment out flat and use a few pins to ease the seams to the flat position, and you’re tracing just to see what those shapes are like – not to make a pattern to sew a garment from. It’s very helpful to look at how things actually go together – there’s a tendency when you’re only looking at written measurements to feel like there is only one “right” answer, but when you see an actual garment it’s easier to understand that it’s okay if your pattern doesn’t look exactly like someone else’s, or even if it doesn’t look exactly like what your measurements say it should look like.